Colloquially, we like to call them “boards”, our skis. But how are they actually made – these boards that allow us to make manoeuvrable turns in the snow, to glide dynamically through deep snow and to carry us over flat parts in a controlled schuss? SnowTrex shows the production steps of ski manufacturing, because one thing is certain: a ski is no longer just “a board”! Rather, we are now dealing with highly developed products consisting of a multitude of building blocks.
Step 1: Production of the ski core
The heart of every ski is the core. It determines the manoeuvrability, grip, hardness, smoothness, weight and last but not least the price of a ski. The material used for the ski core is commonly and traditionally wood, which certainly explains the colloquial designation of skis as “boards”. However, ski manufacturers do not necessarily use only wood and not necessarily only one type of wood. Each manufacturer has its own different, mostly individual compositions and continuously tries out new laminates, i.e. compositions of different thin layers of wood. It can happen that up to 45 layers are glued together. However, according to the current state of development over centuries, everyone agrees that wood is the best (main) component for the core. No other material can, e.g., give the ski such good tension and elasticity as wood and also preserve it. The wood for ski production is mainly supplied from Central Europe, especially from the Alpine countries. The specifications of the ski industry are so narrowly defined that domestic beech wood from the garden is not really suitable for ski production.
In order to vary the stiffness of the ski, ski manufacturers also often use glass fibre materials or metal layers. While top skis have a complete, continuous wooden core, cheaper versions can be supplemented with some foam. This is especially the case with children’s skis or all-round models, as the ski becomes lighter, but is not of such high quality and can therefore be offered at a lower price.
Another decisive factor is that the blanks – whether made of poplar, ash, beech or other materials – are shaped accordingly. The different height and side profiles, the waist as well as the curves that result from this also make up the ski model and its characteristics.
Step 2: Composition of all components
A ski consists of around 30 to 50 individual parts which are individually processed in up to 125 work steps, and joined together to form a high-quality piece of sports equipment. The majority of these are joined together during ski pressing. Steel edges, lower belt (= the part under the core), upper belt (= the part above the core), core, running surface, etc. – all this is packed into one mould and joined together with special adhesives or resins as well as certain heating and cooling times.
The layering within the mould always takes place from bottom to top. The coating is at the bottom, followed by the steel edges and rubber or elastomer tapes, which are used for damping. The bottom belt is laid over this, which in turn consists of glass fibre material and metal reinforcements. The bottom chord increases the torsional stiffness of the ski. This is followed by the heart of the ski, the core and the upper strap. At the top is what we see first when we buy: the print foil with the corresponding design. As a rule, the surface of a ski is printed using digital printing or thermos-sublimation. In the latter case, wax is evaporated onto the material in a gaseous state.
Sandwich construction
The “sandwich construction” is considered to be the classic construction method for connecting the different materials of the ski. In this construction method, the individual layers are glued together and then baked with heat and pressure.
Shell construction
In the so-called “shell construction”, the upper chord and the side walls form a shell into which the other layers are glued with glue. In contrast to the sandwich construction, the pressure on the edges of the ski is increased, which is why it grips better on hard slopes. This is usually reflected in the price.
Jacket design
With the “jacket construction”, the ski manufacturers wrap the core with various glass and carbon fibres and glue everything together. This also promotes a better grip and also makes the ski stiffer than with the classic construction of overlapping layers.
When the ski comes out of the press, it has – depending on the materials used – the appropriate pre-tension and (almost) only needs to be ground. The pre-tension is tested by the manufacturer, seller or buyer by placing the running surfaces of the skis next to each other and trying to squeeze them together. The more difficult it is to compress, the greater the pre-tension and thus the track accuracy and grip of the ski.
Step 3: Grind to finish
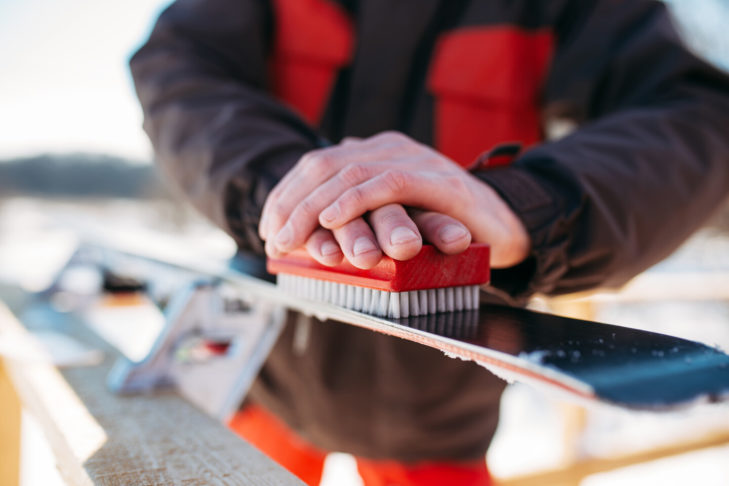
After the ski has come out of the press and cooled down, it is removed from the mould and fitted with the ski tip and end protection. The ski is made complete in the grinding shop: Both the edges and the base are ground and polished, the base is additionally waxed and provided with a structure.
Not necessarily part of the ski production, but nevertheless enormously important, is the assignment of a serial number. This makes it possible to assign the ski, for example in the case of warranty cases, which occur again and again despite the use of high-quality materials and sophisticated production steps.
Finally, an insight into ski production at Stöckli:
Please also note that by using our services and integrating the YouTube API Services, the YouTube Terms of Service and the YouTube API Services Terms apply and your use of our website is deemed to be acceptance of these terms.
Securely wrapped in foil, the ski now finds its way into the shop. Need tips for buying skis?


